INSTALLATION MANUAL
Crown Molding Installation Instructions
Plan the layout, prepare the room, cut accurate corners and joints, and install crown molding with a clean finished appearance.

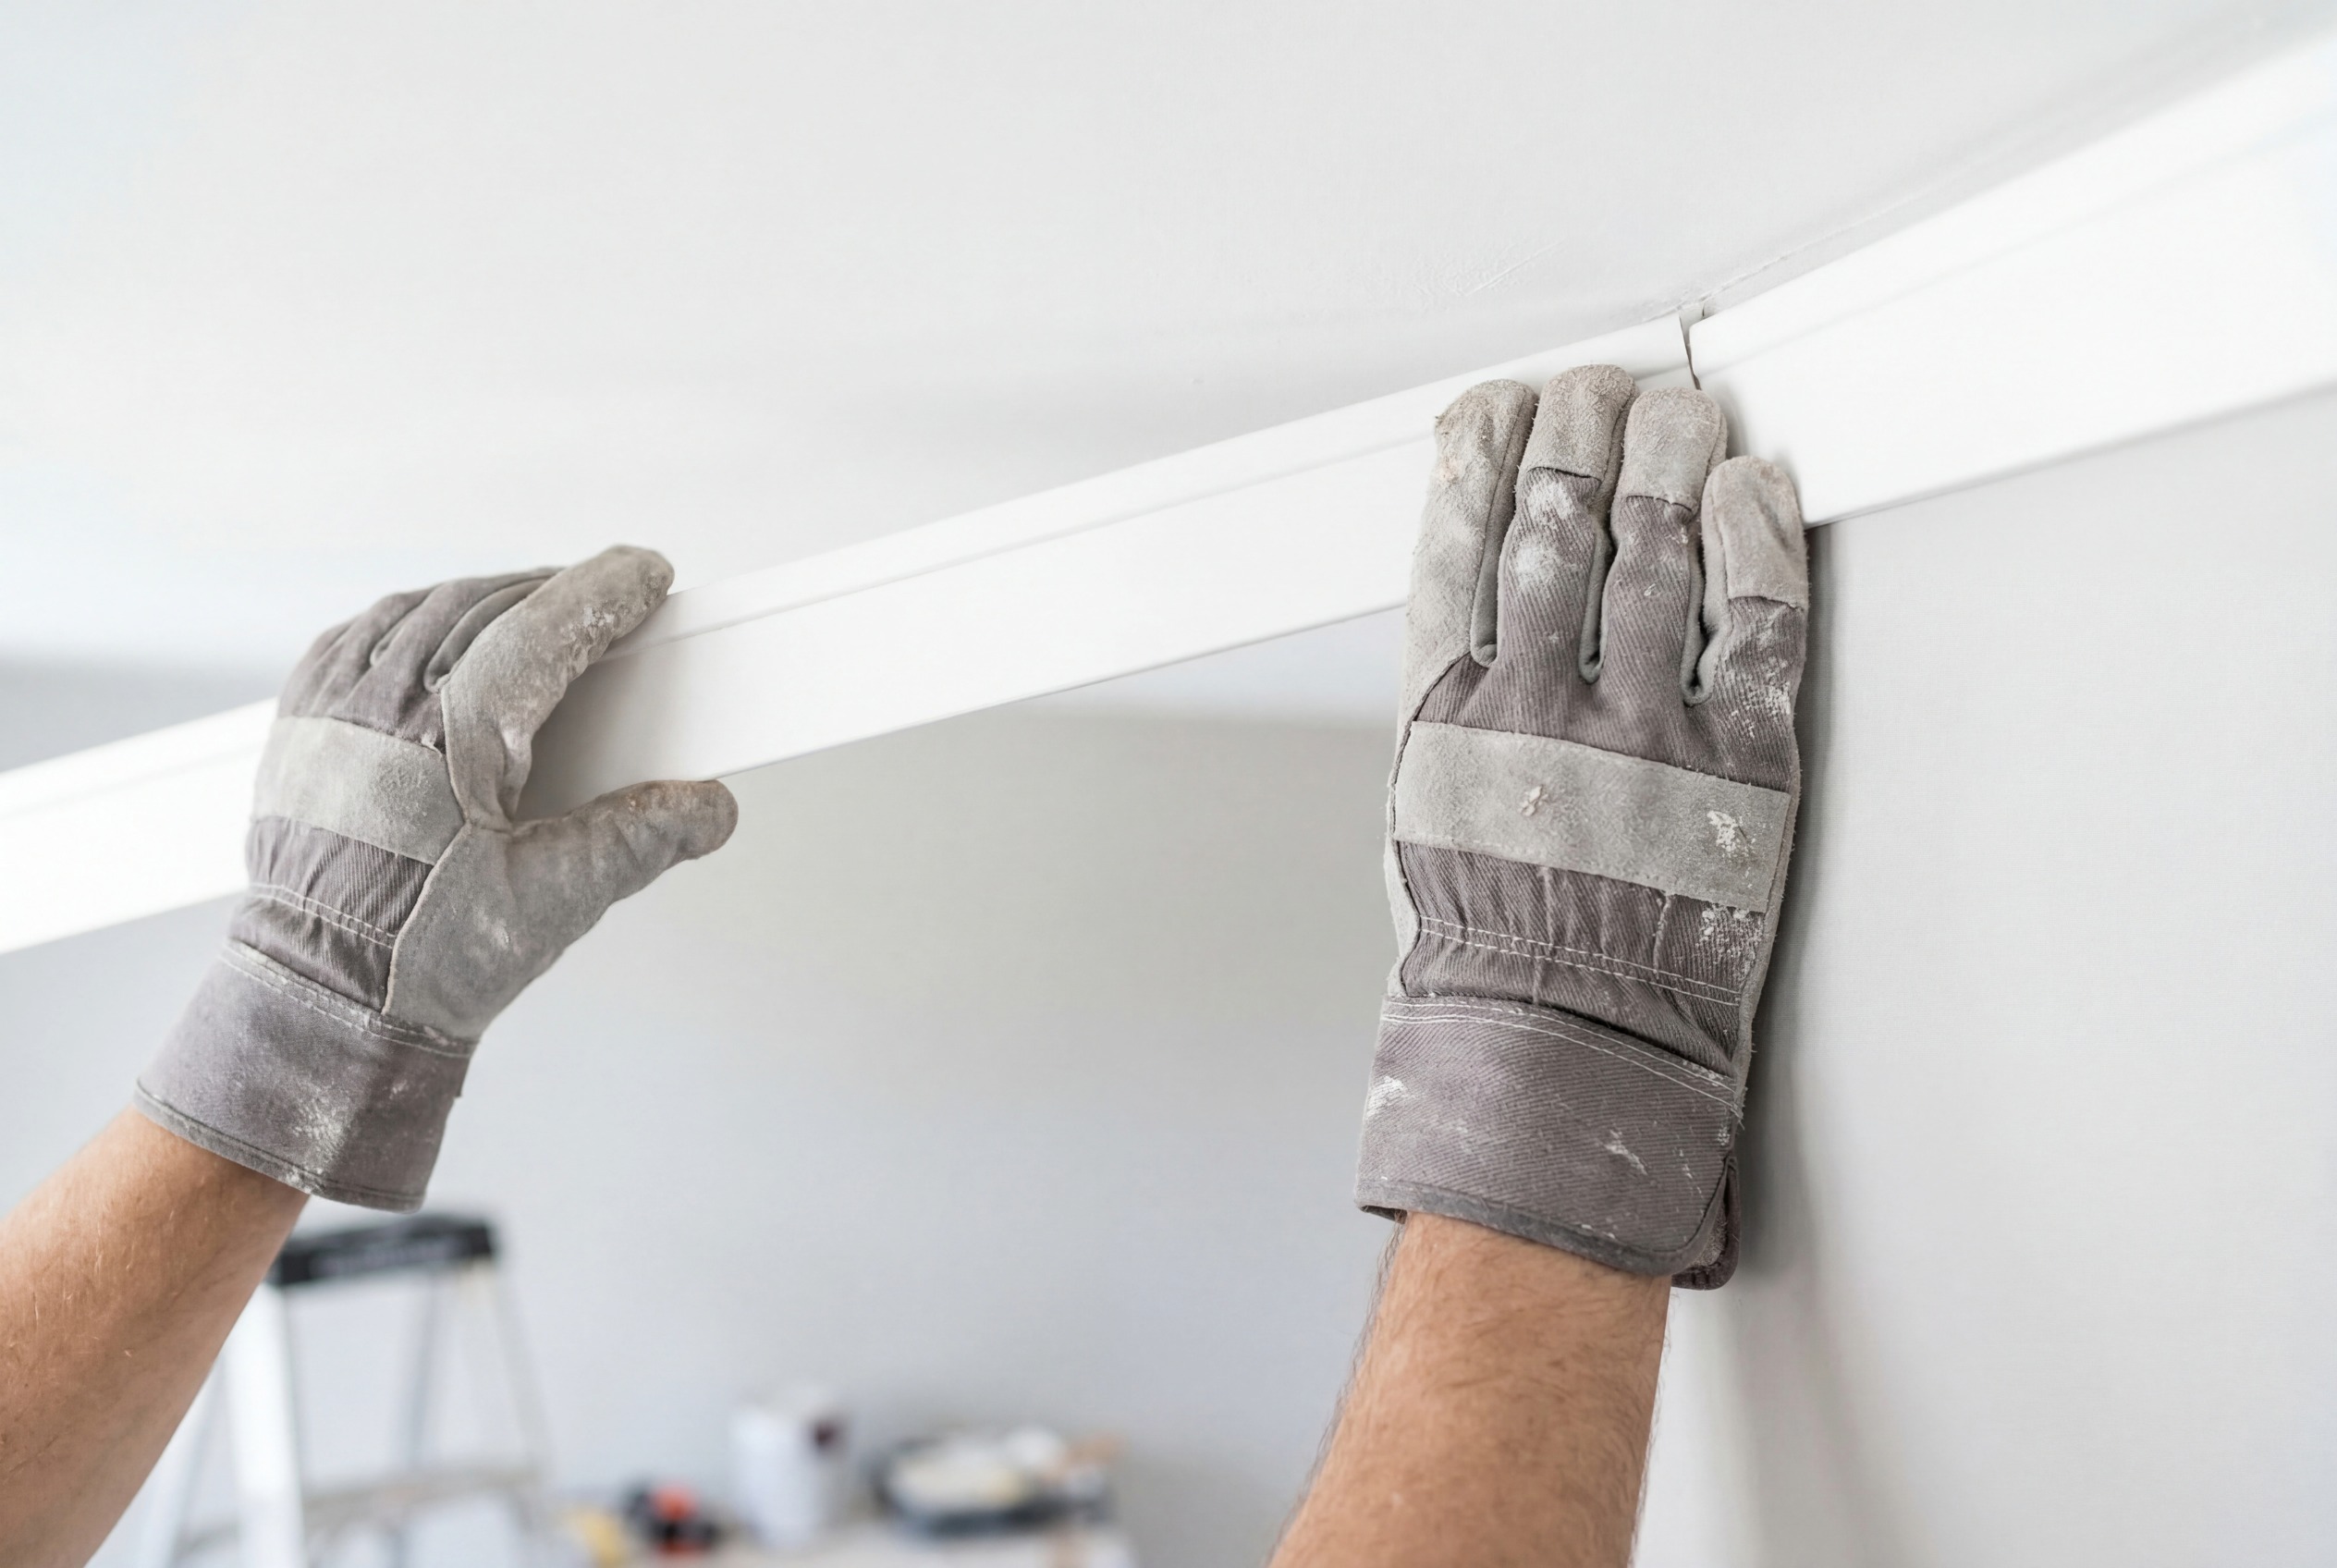
INSTALLATION MANUAL
Plan the layout, prepare the room, cut accurate corners and joints, and install crown molding with a clean finished appearance.
Measure every wall where crown molding will be installed. Add approximately 10 percent for cutting and miter waste. Divide the total linear footage by the available molding length and round up to the next full piece.
Plan where full lengths, butt joints, and pattern repeats will fall. Whenever possible, place the final joint behind a door or in another less-visible location. If the molding has an ornamental repeat, account for pattern continuity before cutting.
Inspect the molding for damage, verify the profile and quantity, and allow the material to acclimate according to its product instructions. Store pieces flat and fully supported. Complete dusty or wet construction work before bringing finished molding into the room.
Walls and ceilings must be clean, dry, structurally sound, and free of loose paint, dust, grease, and protruding fasteners. Repair damaged areas and mark studs or solid fastening locations where mechanical attachment is required.
Use a short sample of the molding to mark the bottom edge around the room. Keep the sample in its installed spring angle and transfer the line consistently with a level or chalk line.
The key to accurate miters is placing the molding in the saw exactly as it will sit between the wall and ceiling. The ceiling bedding edge rests against the saw table and the wall bedding edge rests against the fence. Label the table “ceiling” and the fence “wall” before making cuts.
Keep the molding firmly seated at the correct spring angle. Make test cuts with scrap material and check every joint in place before applying adhesive.
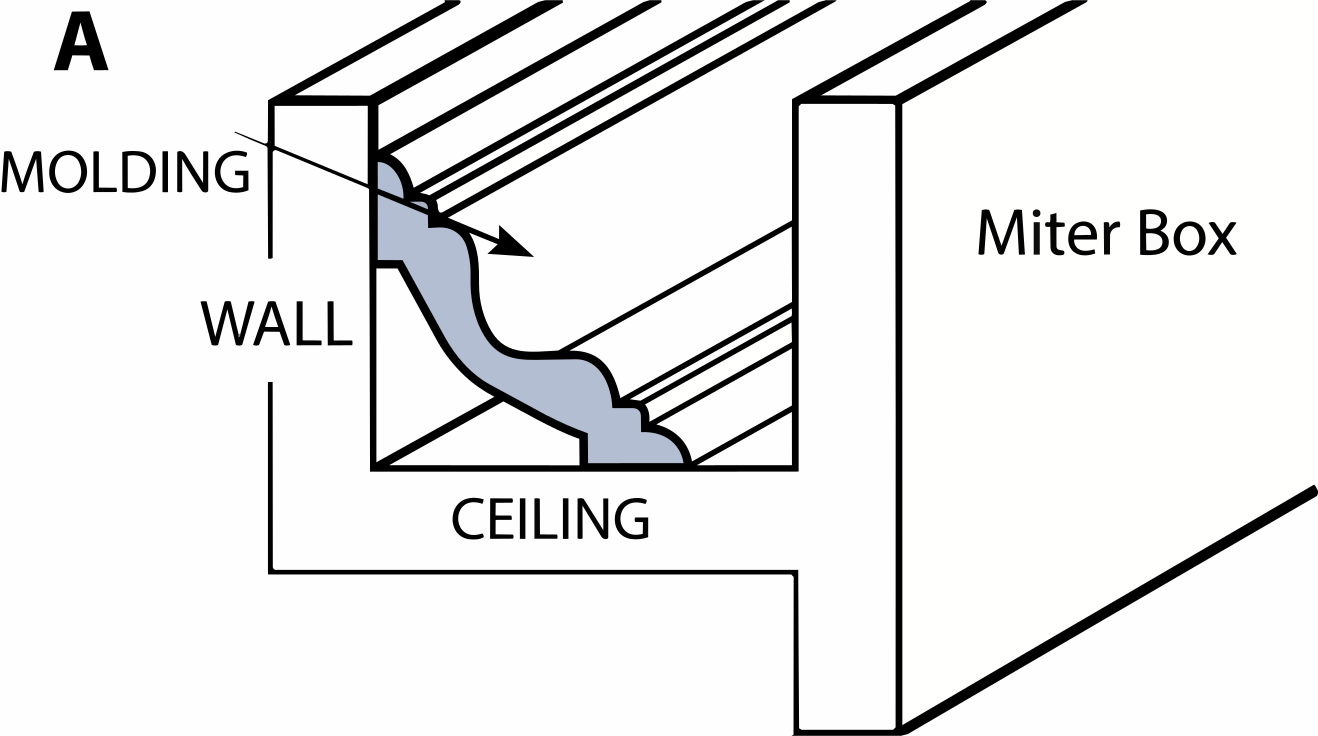
A. Correct saw position
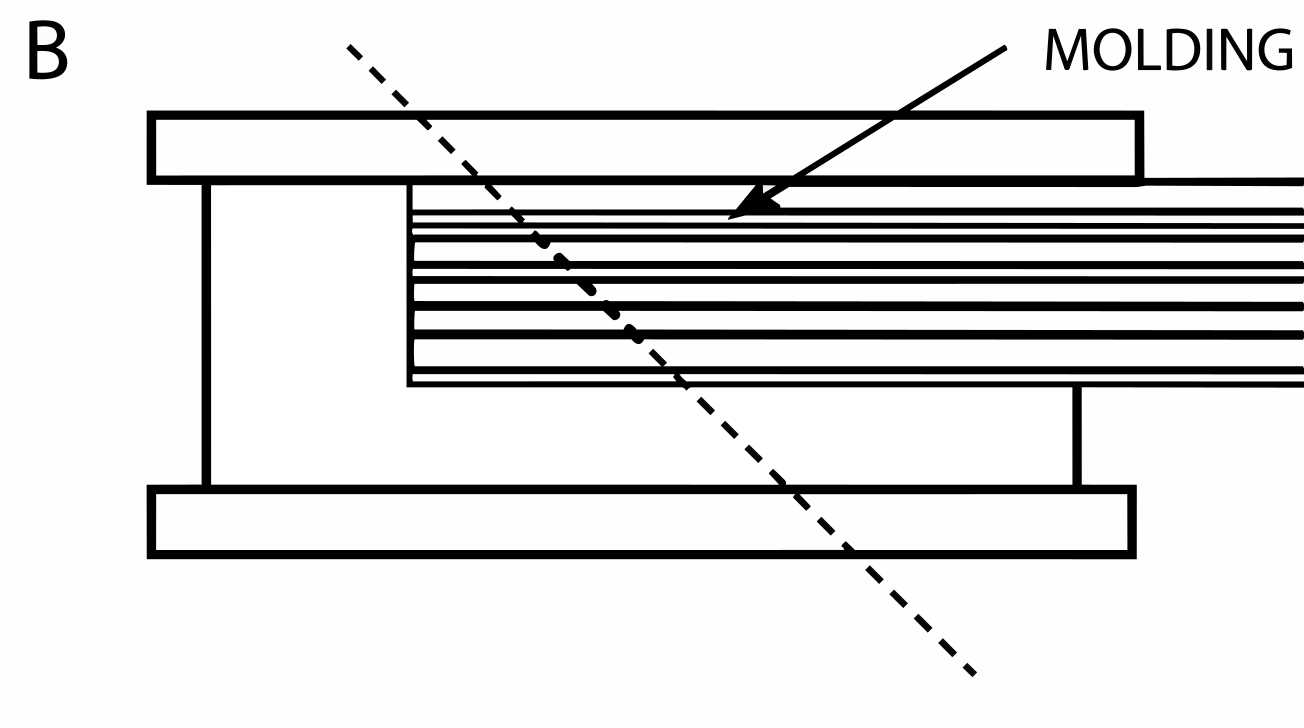
B. First inside-corner cut
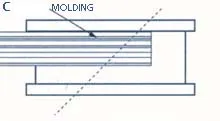
C. Second inside-corner cut
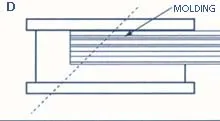
D. First outside-corner cut
When a wall is longer than one molding piece, join two lengths over a solid fastening location. Match the profile and ornamental repeat before cutting. A scarfed joint is generally less visible than two square-cut ends. Dry-fit the joint, apply adhesive to both mating surfaces, and secure both pieces without changing their alignment.
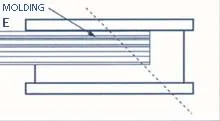
E. Second outside-corner cut
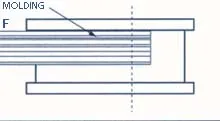
F. Butt or scarf joint
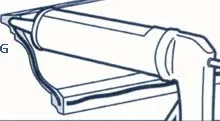
G. Adhesive placement
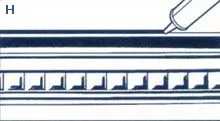
H. Filling and finishing the edge