PLANNING GUIDE
Flexible Molding Determination
Identify the application, document the curve, and collect the measurements needed to select the correct flexible molding.


PLANNING GUIDE
Identify the application, document the curve, and collect the measurements needed to select the correct flexible molding.
Flexible molding is produced for a specific profile and application. Before ordering, confirm the rigid molding profile to be matched, the total length required, the orientation of the curve, and the tightest radius in the installation.
Measure at the exact surface where the molding will sit. Do not assume that the wall, ceiling, opening, or template is perfectly symmetrical. Record each curved section separately and identify where flexible molding will transition to rigid molding.
The direction of the bend determines how the flexible profile must be produced and installed.
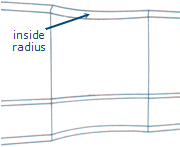
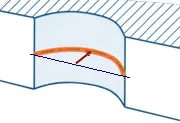
An inside or concave radius follows the inside face of a curved wall, ceiling, alcove, or circular detail. Measure the radius at the molding’s installed surface and record the full curved length.
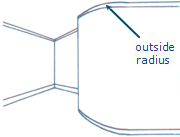
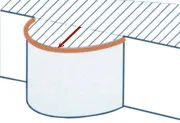
An outside or convex radius wraps around the exterior face of a curved wall, column, island, or projection. Measure at the outer installed face rather than using an inside dimension.
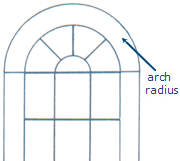
An arch bends the molding within the plane of a door, window, niche, or opening. Record the clear span, the rise from the spring line to the top, and the curved length.
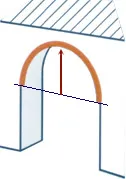
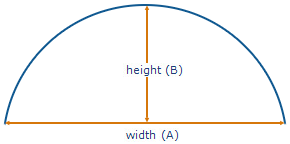
Record the span and rise for arches and curved openings.
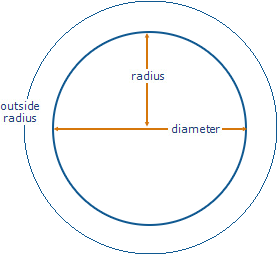
Measure the radius at the molding’s installed surface.