INSTALLATION MANUAL
Ceiling Dome Installation
Plan the opening, prepare the support structure, position the dome, secure it correctly, and finish the surrounding ceiling.

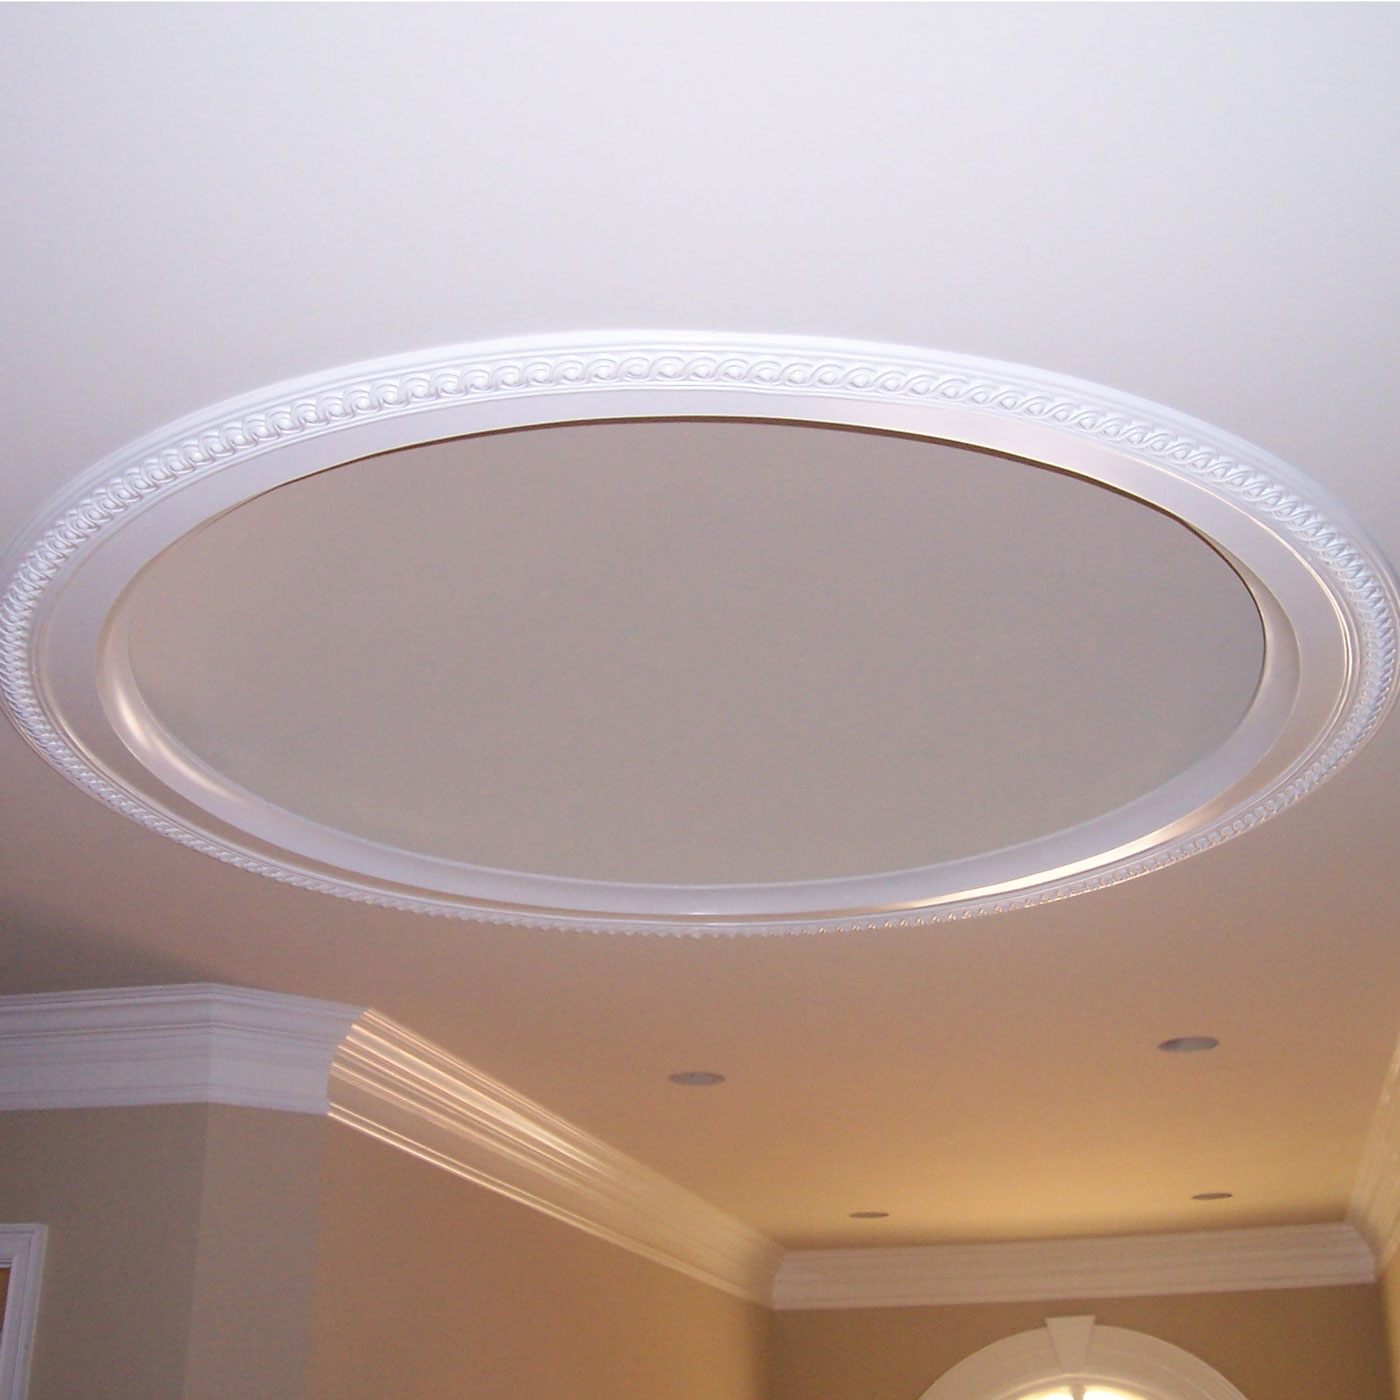
INSTALLATION MANUAL
Plan the opening, prepare the support structure, position the dome, secure it correctly, and finish the surrounding ceiling.
Inspect the dome immediately after delivery. Confirm the dimensions, finish, and condition before cutting the ceiling or beginning installation. Store the dome flat in a protected area and keep the finished surface away from sharp tools and impacts.
Check local building-code requirements and confirm that the ceiling framing can support the dome, surrounding wallboard, lighting fixture, and any additional loads. Plan the opening, framing, wire supports, fixture location, and access before work begins.
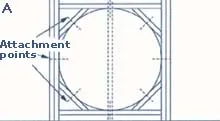
A. Framing plan
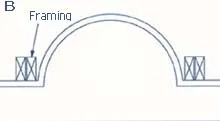
B. Installation cross-section
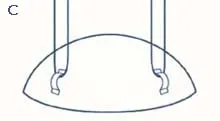
C. Wire support attachment
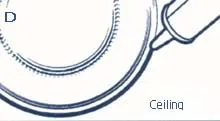
D. Edge preparation and caulk
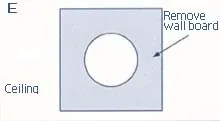
E. Ceiling opening
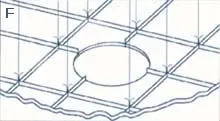
F. Suspended-ceiling application
A licensed electrician must install the fixture, junction box, wiring, and electrical connections. Disconnect power at the breaker before electrical work begins. Confirm fixture clearances, lamp heat, ventilation, and service access before closing the ceiling.
Apply a compatible paintable caulk around the perimeter where required. Smooth the joint without forcing the dome out of position. Allow adhesives and fillers to cure, then prime and paint only with coatings approved for the dome material.
Before energizing the fixture, confirm that the dome is level, all structural supports are secure, no sharp hardware contacts the dome, and the fixture can be serviced safely.